*This post may contain affiliate links for which I earn commissions.*
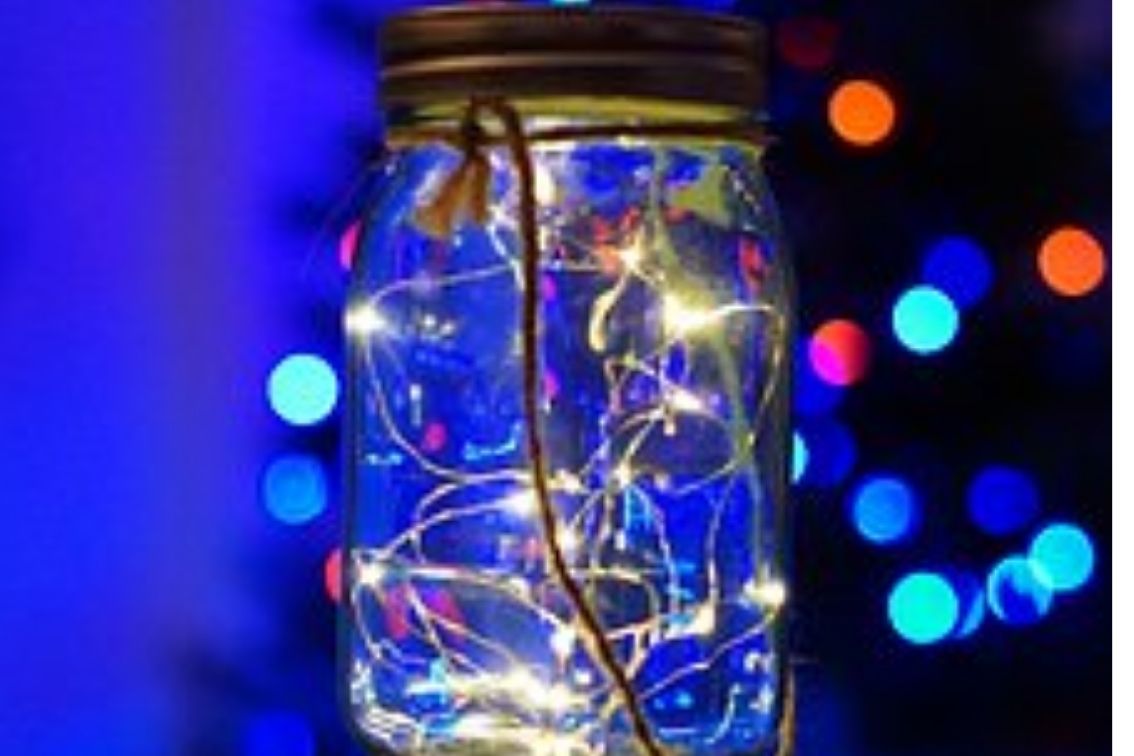
It has to be easy and fun, and with those masons’ jars, you can convert them into solar light lanterns to place in the garden, patio, or even in a window.
They are useful and inexpensive, my links are for 12 items, so 12 lamps for wherever you want them, if you put a string around the neck of the jar, then you can hang them in the trees, on the patio, just make sure you put them where they get a lot of suns.
Kids love when parents take time and do things together with them and this is both creative and useful and it will make them wait to get away from their screens.
I will walk you through it, step by step, make sure you got all from the list ready before you start.
Supplies Needed
WILLDAN Mason Jars 12 oz With Regular Lids and Bands, Ideal for Jam, Honey, Wedding Favors, Shower Favors, Baby Foods, DIY Magnetic Spice Jars, 12 PACK, 20 Whiteboard Labels IncludedSowsun Solar Pathway Lights Outdoor ,Solar Powered Landscape Garden Lights for Pathway ,Lawn, Patio, Yard,Path,Walkway Decoraiton-12 Pack(white)
- Frosted Glass Paint, you can get them in different colors (Normal paint will dime the light)
-Masking Tape
-Glue Gun
-Glass Cleaner
-Soft Cloth
-Card Board
-Scissors
-Hobby Knife
-String (if you want to hang the lanterns)
Step by Step Instructions
1: Clean the glasses with the glass cleaner and dry them with the cloth2: Turn the glass upside down
3: Cover the base with the making tape
4: Put the glasses on an old newspaper before spraying them with the paint
5: After spraying all the glasses; let them dry, all depending on how much light you want, you may want to give them 1-2 layers more of the paint, just remember to let them dry in between
6: Remove the tape
7: Remove the stake piece from the lamp
8: Remove the middle piece from the Jar's lid
9: If the solar light's diameter is smaller than the circle in the lid, then put the middle piece from the lid on the cardboard and mark it
10: Put the top of the solar lamp in the middle of the circle on the cardboard and mark it
11: Use the scissors to cut the outer circle of the cardboard
12: With the Hobby, knife cut the center out
13: Put the cardboard ring on the top of the lamp and glue it
14: If the solar lamp fits in the middle of the lid, when you have taken the center part out, you only need to glue it, and jump step: 9+10+11+12
15: Apply the lamp in the lid, now you can either leave the base/plastic on the lamp, if you leave the base on, it will reflex the light better
16: Switch on to the position: "ON"
17: Close the lid
18:: If you want them to hang, put a string around the neck of the jar, eventually put a drop of glue on the string, to make sure it sits
I'm sure it can be a "family" project with a lot of fun for both adults and kids, it is easy to get the hang of, and you can put other decorations on, if you wish: glitter, silver/gold, drop it on the paint before it is dry, make the glasses in rainbow colors, add a small bag of acrylic gems in the bottom of the glass, let the kids use their imagination and see what fun you end up with.
The lamps are handy to bring along on camping, hiking, or another outing, they don't weigh a lot, and last for many hours when fully charges. They will turn on and off automatically.
Not only are they easy to make but they are Eco-friendly as well, and it is nice to be able to bring the lantern around wherever you want it, and not have to think about wiring, and no extra cost on the electricity bill, useful the year around.
So have some fun and enjoy.
From time to time though, the lamps may need to get cleaned and restored, the sun is making them dull after time and years, but don't worry, there is an easy way to make them like new, if you go here you will learn how.


Thanx for the effort, keep up the good work Great work, I am going to start a small Blog Engine course work using your site I hope you enjoy blogging with the popular BlogEngine.net.Thethoughts you express are really awesome. Hope you will right some more posts.